I classify this STEM project as easy. There are some fine points that I will mention, but in general, if you have seen and know how the LEDs and the Microbit board work, then you should not have any problems.
Take a ping pong (that’s what we call table tennis) ball and turn it into a disco ball using a little dexterity and some Microbit programming. The project is not very useful for real life, but it is fun and teaches us some basics of electrical engineering and programming. And why wouldn’t it be useful, come to think of it? What if you wake up at 2 in the morning, can’t sleep, want to hear your favorite song and want a little more special effects while listening to the voice of your favorite artist? Here, the disco ball for table tennis is a great solution.
MATERIALS:
- table tennis ball (ping pong)
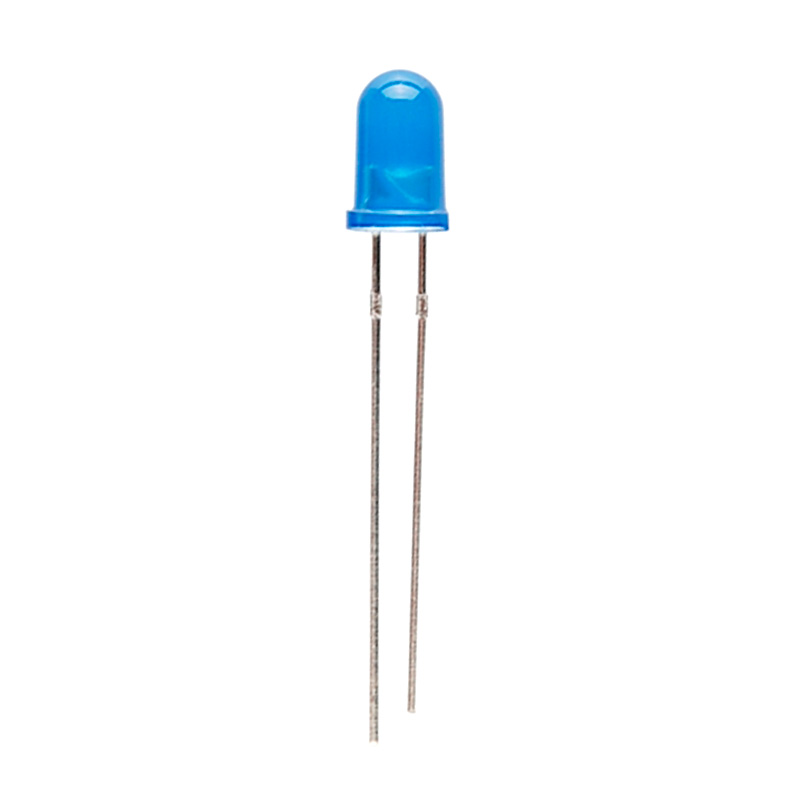
- 3 LEDs with different colors
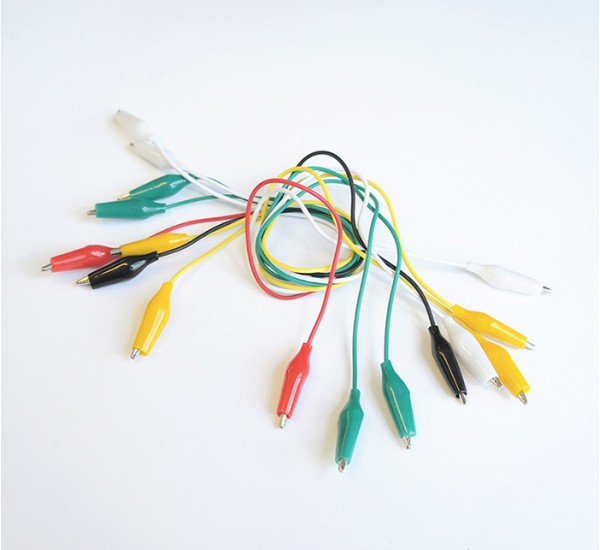
- 4 crocodile clips cables
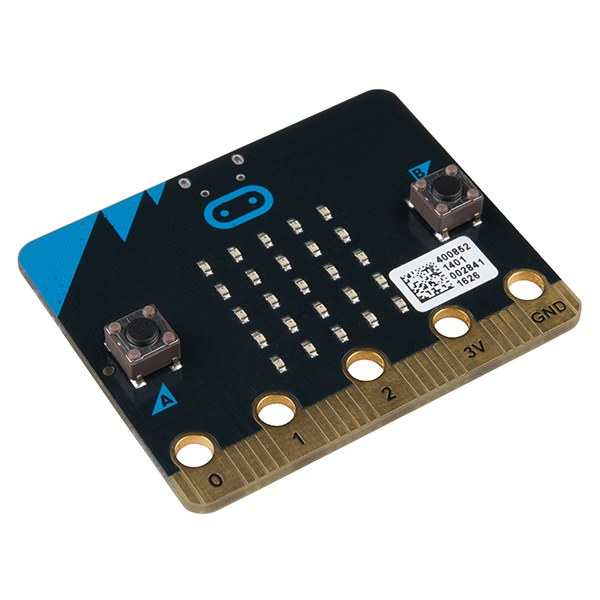
- a microbit
- a utility knife or scissors
- hot glue gun

How to do the project:
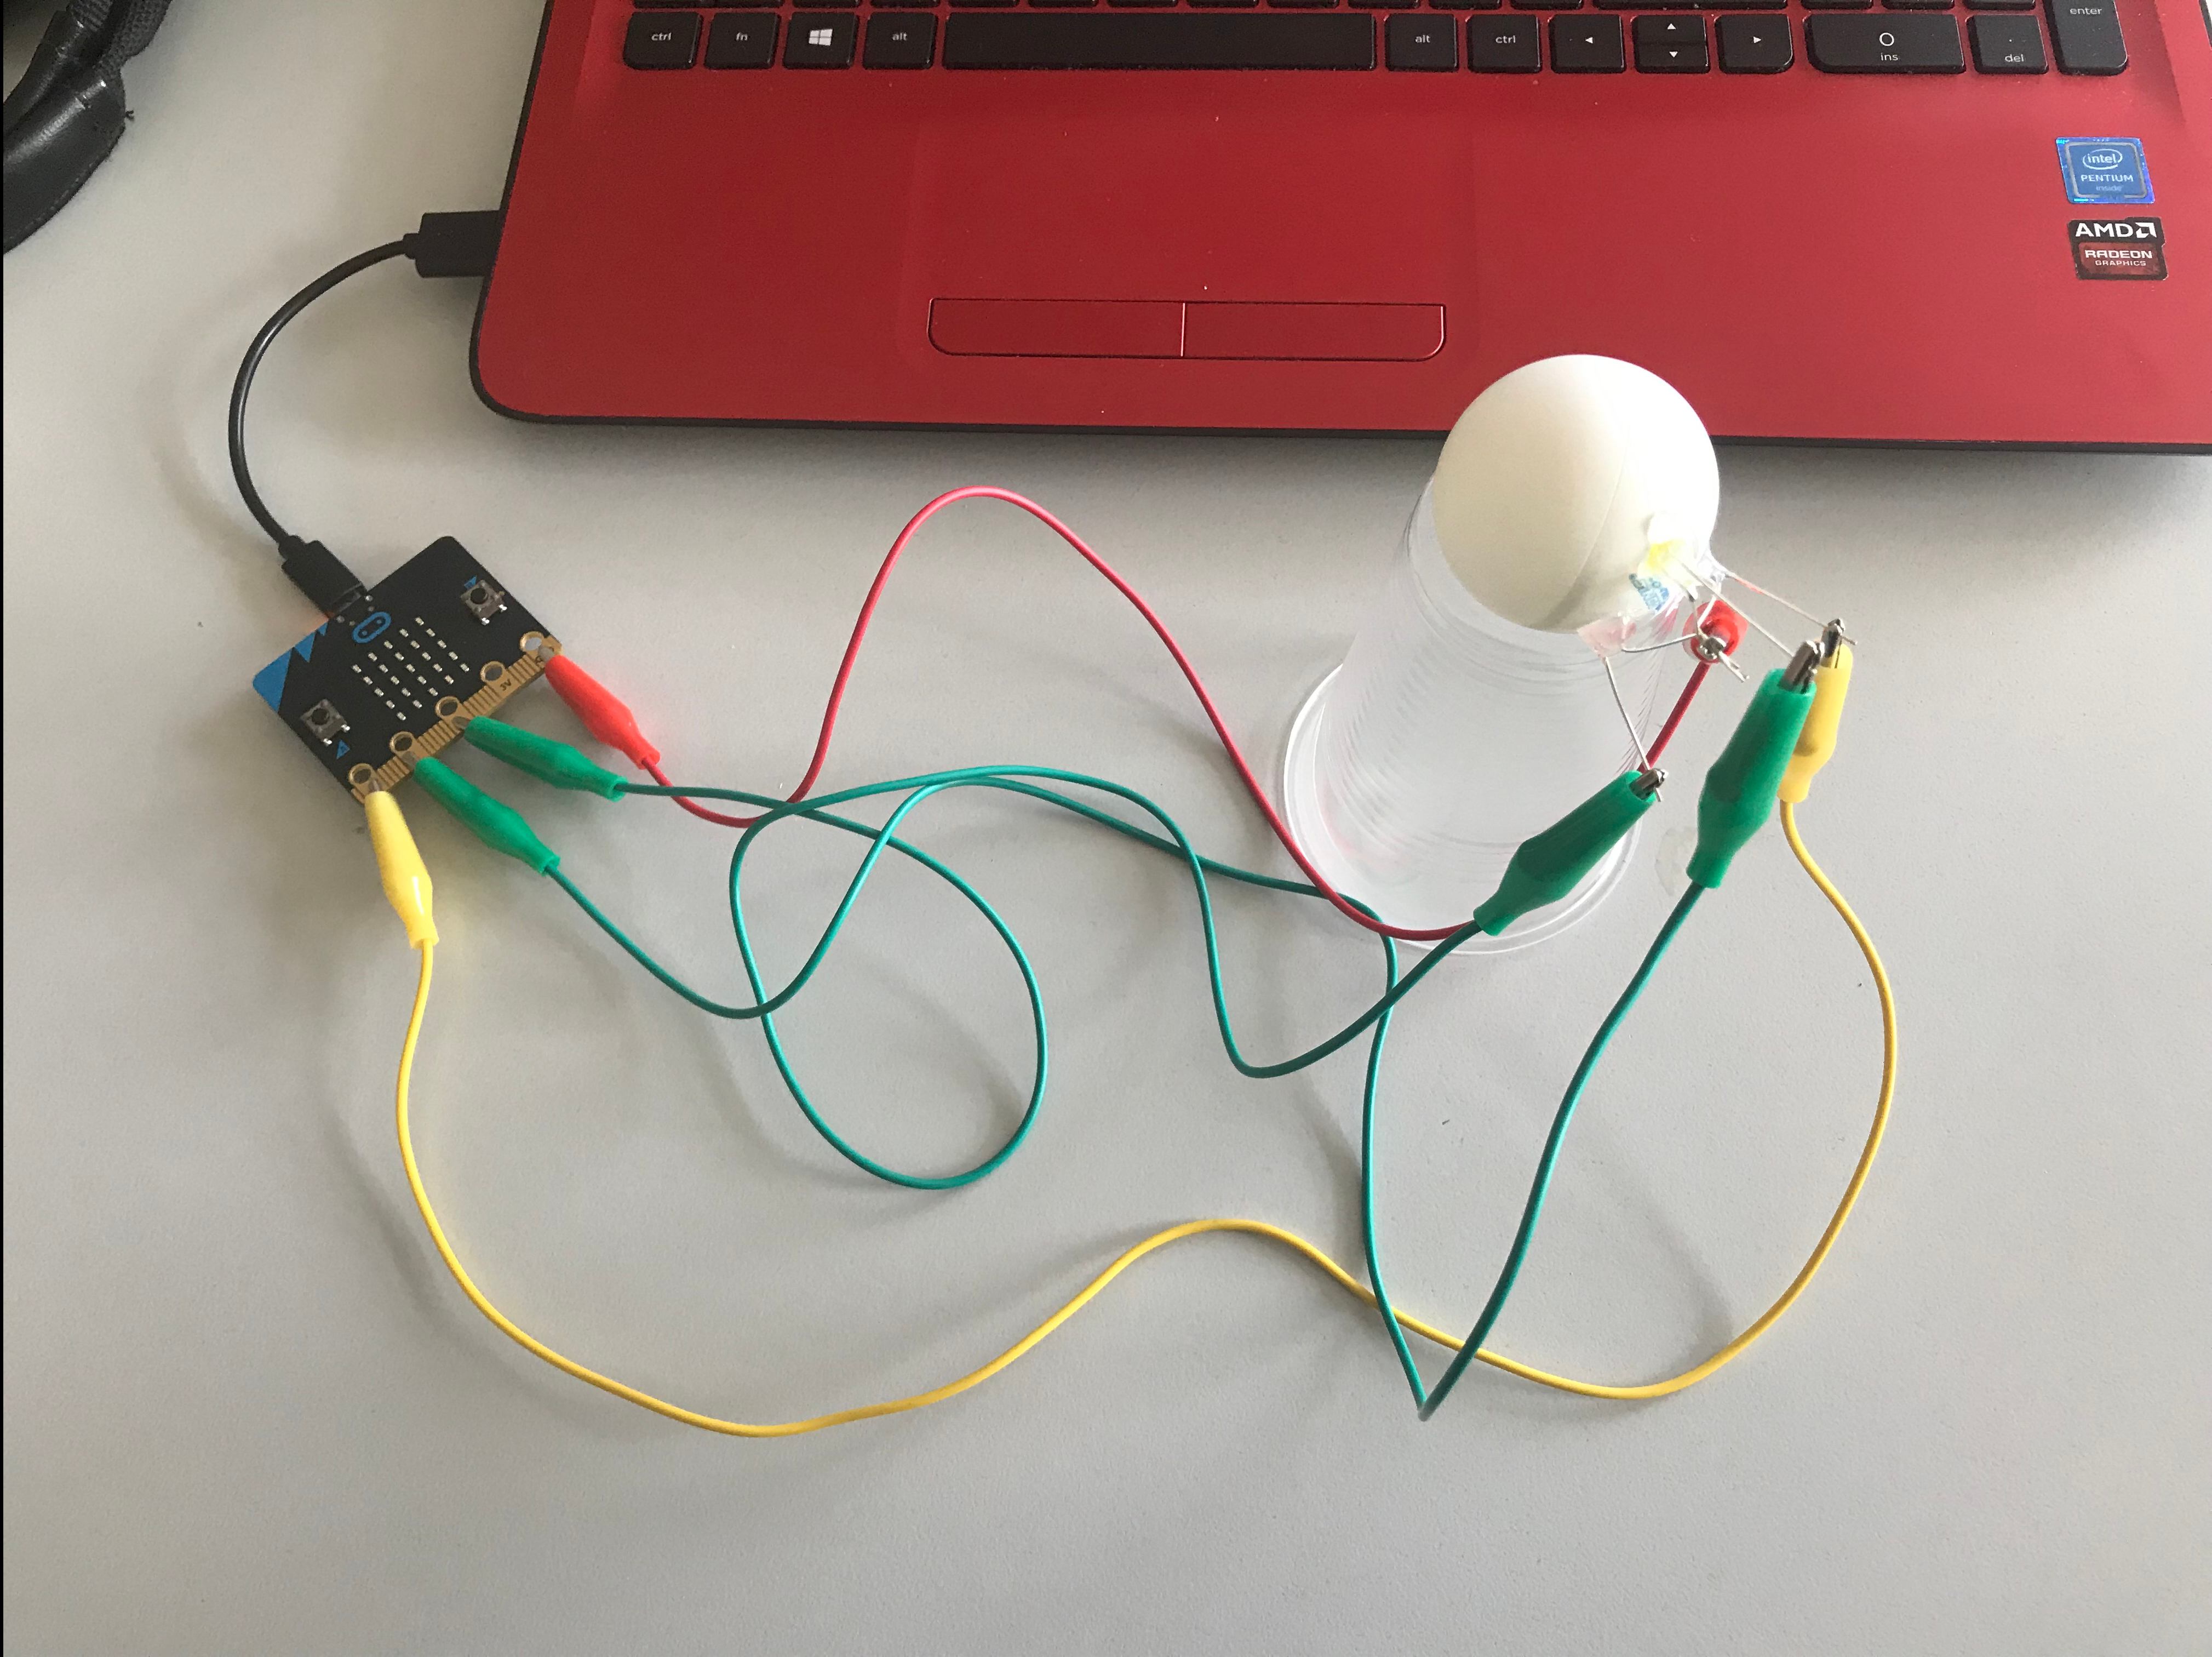
Poke 3 little holes in the tennis ball. The holes should not be bigger than the head of an LED.
Use the hot glue gun to glue the head of the LEDs inside the tennis ball. Look at the picture below. Place the LED’s heads in the wholes you just poked, one in each hole.


Now comes one of those fine moments that will predetermine whether the project will turn out in the predicted successful way, or will totally fail. The LED has two legs – one short and one long. The long leg represents + (plus) and the short leg – (minus). We need to take the short leg of all three LEDs and twist the three short legs together into a common leg in the middle. We do not touch the positive legs (the longer ones) and they stick out separately. The end result looks like this:
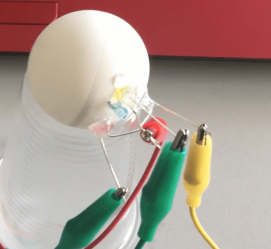
We clip the 4 protruding legs – the three individual positive legs and the common negative twisted leg. Everything is with a separate clip. The result can be seen in the previous picture.
We are done with the part of the project where we need to be dexterous. We continue with some soft skills, namely – writing the code of the program that will make the ball (actually – the LEDs) light up. Go to makecode.microbit.org and open a new project to write a program.
The program’s code will do the following: The first light turns on (1) and turns off (0), the second light turns on (1) and turns off (0), the third light turns on (1) and turns off (0), and it all starts over in a loop that is rotated 20 times. This happens by sending an electrical signal to the first 3 pins of the microbit. There are pauses of half a second (500 milliseconds) between each turn on and turn off. The code can be seen in the image below:
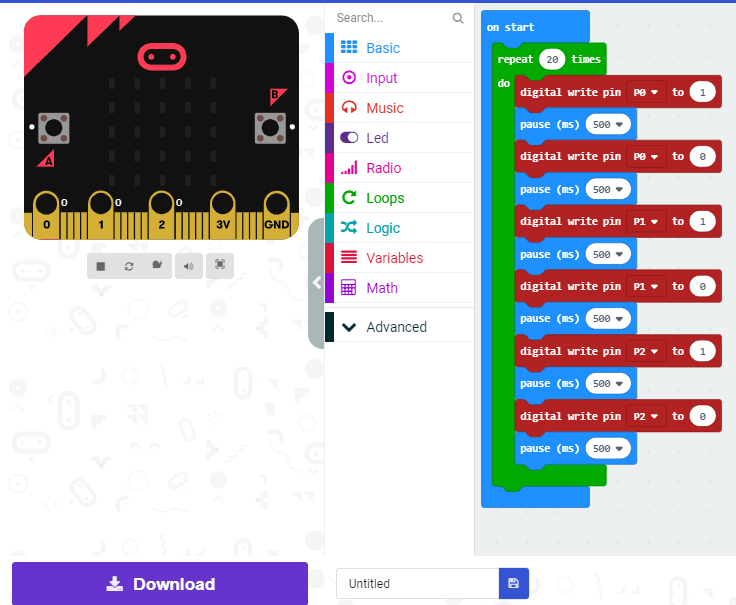
The most important thing here is the “digital write pin” block. This block outputs a 1 or 0 signal (yes or no, true or false, current or no current). This signal is fed to the corresponding pin of the board and goes to the LED. If the board receives a 1 signal on pin 0, then it gives electricity to that pin, which powers the LED and it lights up. At signal 0, the opposite effect is obtained – the board stops supplying electricity to the corresponding pin and the light goes out. Next is the next pin tied to the next light and so on until all three lights have been rotated a total of 20 times.
The final step is to bind the entire project’s parts together. Each wire we connected to the positive LED legs of the ball, we now clip their other ends to pins 0, 1 or 2. We connect the short common leg to ground (GND) from the Microbit board. I’m going to assume you have Microbit experience when attempting this project, so I’ll skip over how to download the makecode program and how to upload it to the board.
You can watch a video about this project on my YouTube channel by clicking here.
The disco ball tutorial is done and now all that’s left to do is make it, turn off the lights, run some electricity on the board and LEDs, and enjoy the light show.
