Do you know which project is an absolute STEM classic? The ABC of STEM, the beginning of it all? That is the paper circuit card. An extremely easy and fun project to complete. Some time ago, when I was not into STEM yet, I signed up for a two-day workshop for teachers, on the topic of “STEM education”, and I had no idea what to expect. I had read on the Internet and knew that the term STEM is an abbreviation of the words Science, Technology, Engineering and Mathematics.
I knew that STEM is a new term and that it required deep knowledge of the fields listed in the acronym, and that STEM was an extremely popular way to entertain a student (or a whole class) while they were learning without even realizing it. In this STEM training we were shown how to do many things, but the first was the paper circuit card. Enough talk, let’s see what we need in order to make one.
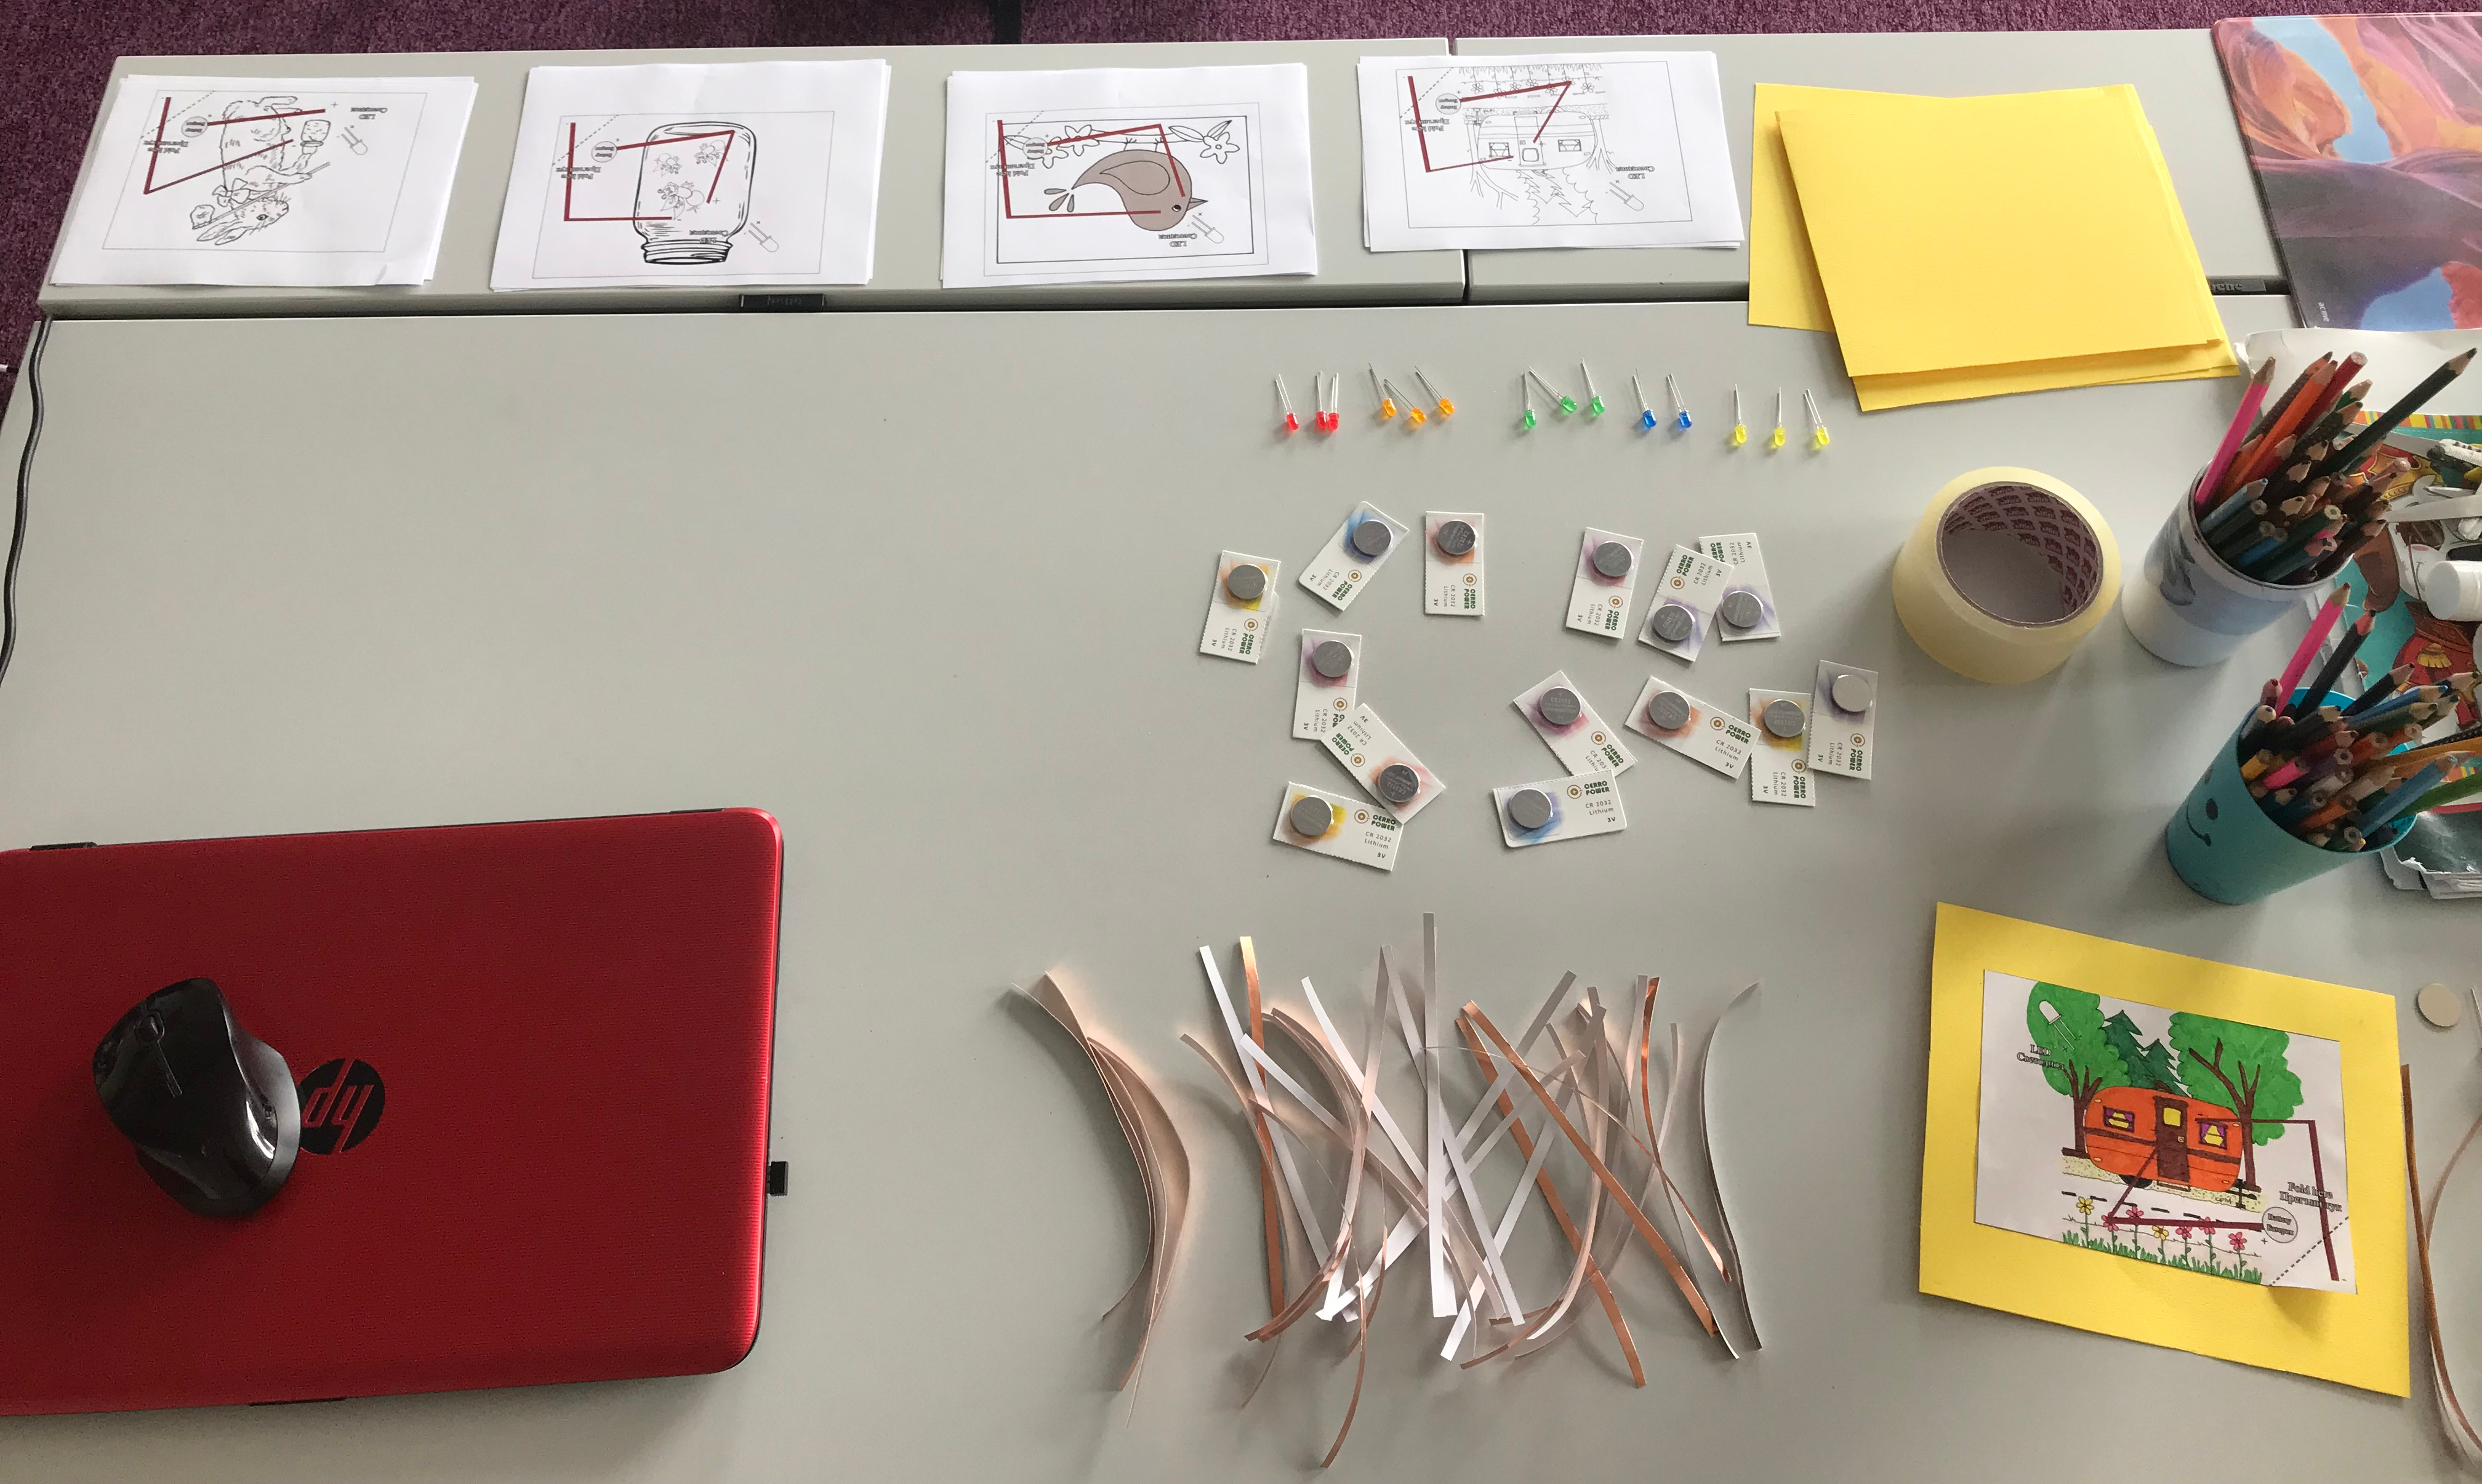
MATERIALS:
- a picture, a printed card or just a piece of paper
- pens, pencils or other tools to draw and color on the card, to make it pretty
- Conductive Adhesive Tape (Copper Tape)
- plain tape
- LED (little light)
- flat round 3 V battery
HOW TO DO THE PROJECT:
The first step is to create the card. Take a blank paper and draw whatever you want to have on the card. Then color it or just use different colors when drawing. If you have a ready-made printed picture or card to work on, this step is unnecessary. I have made many templates that you can just print and color. Here are some of them: (Click on the links to get them)

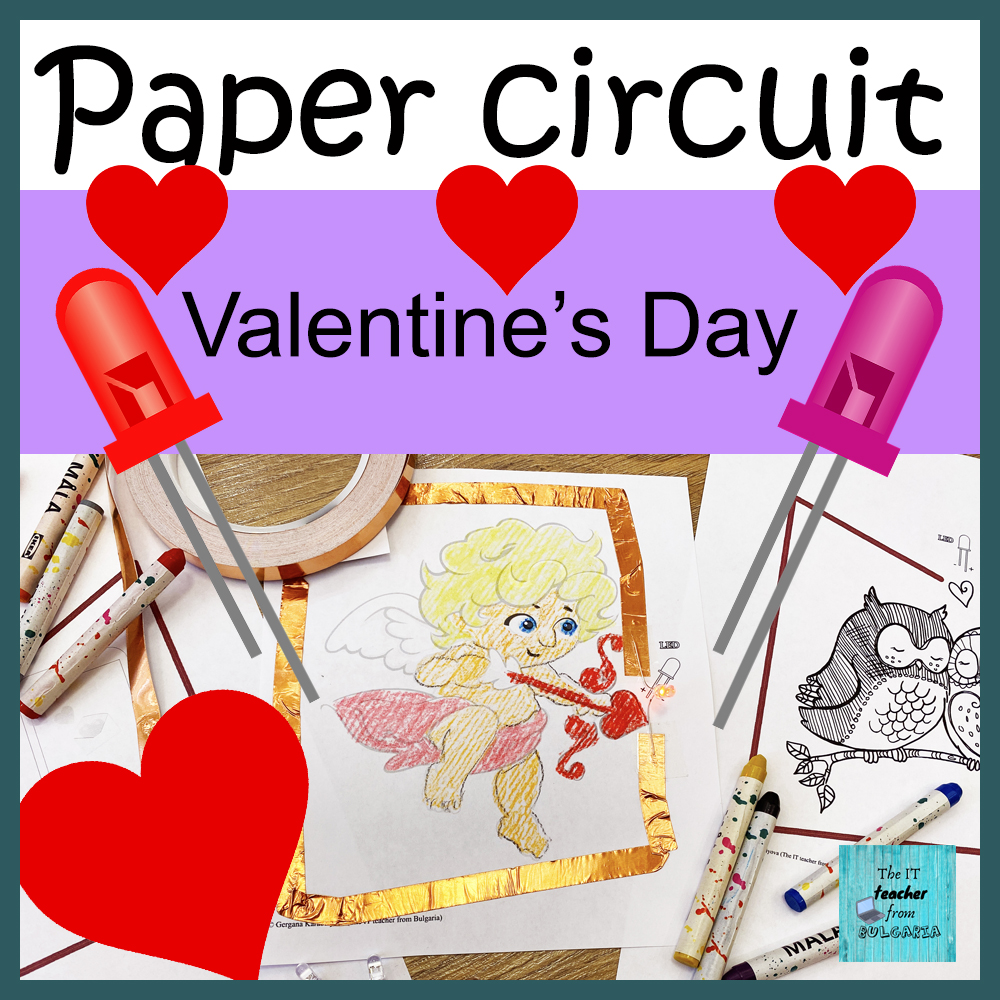
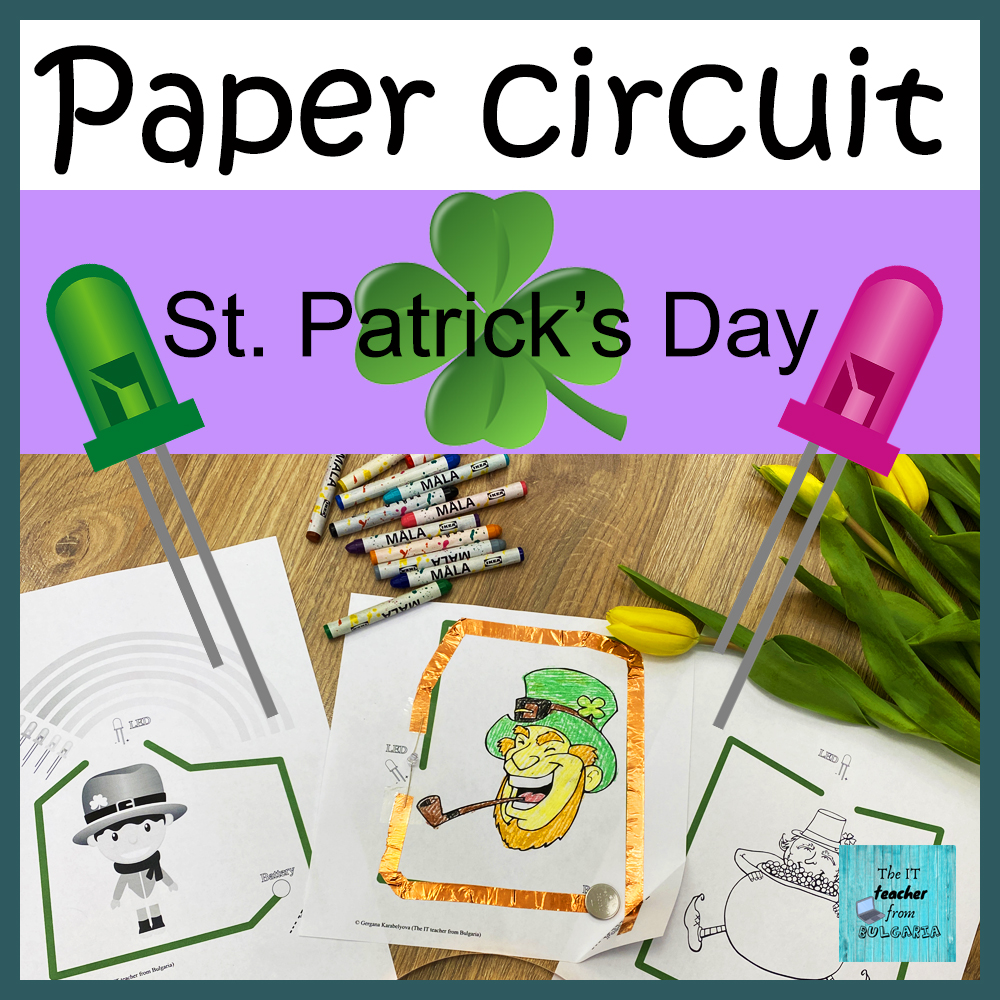
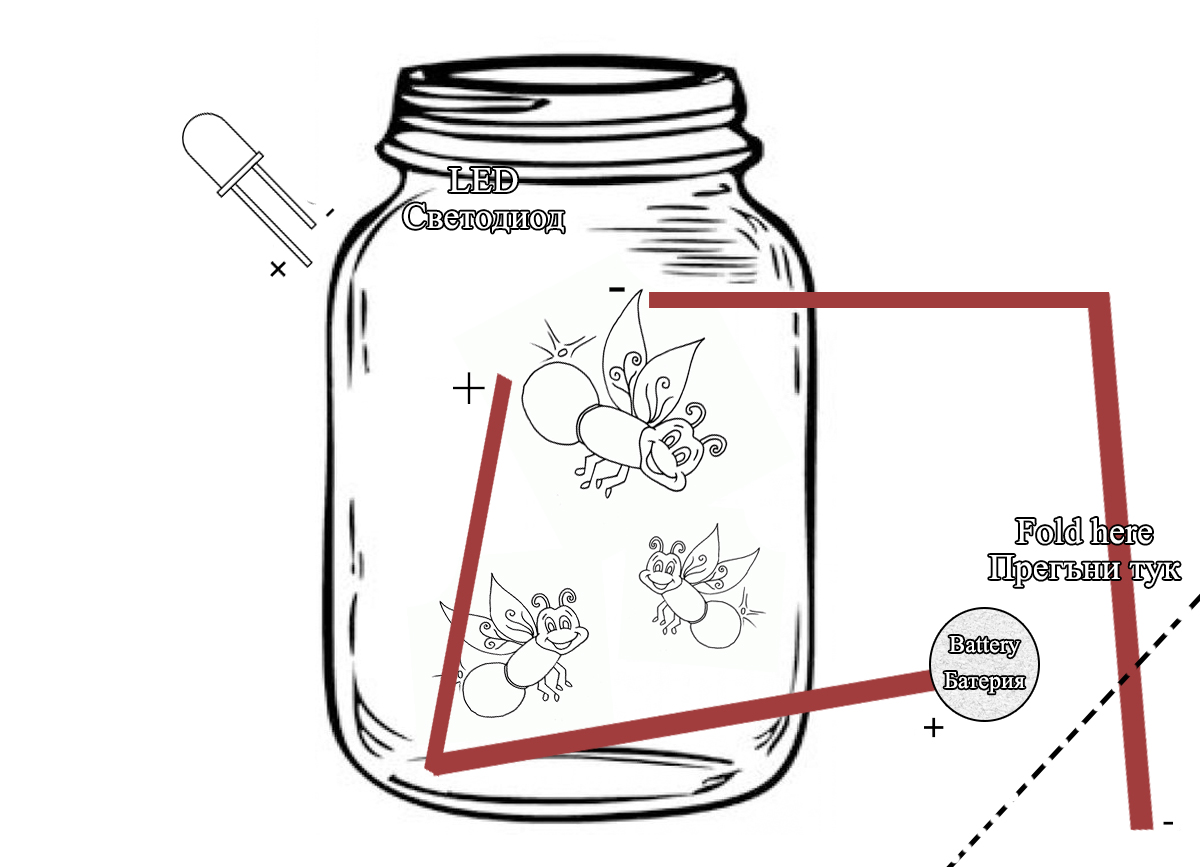
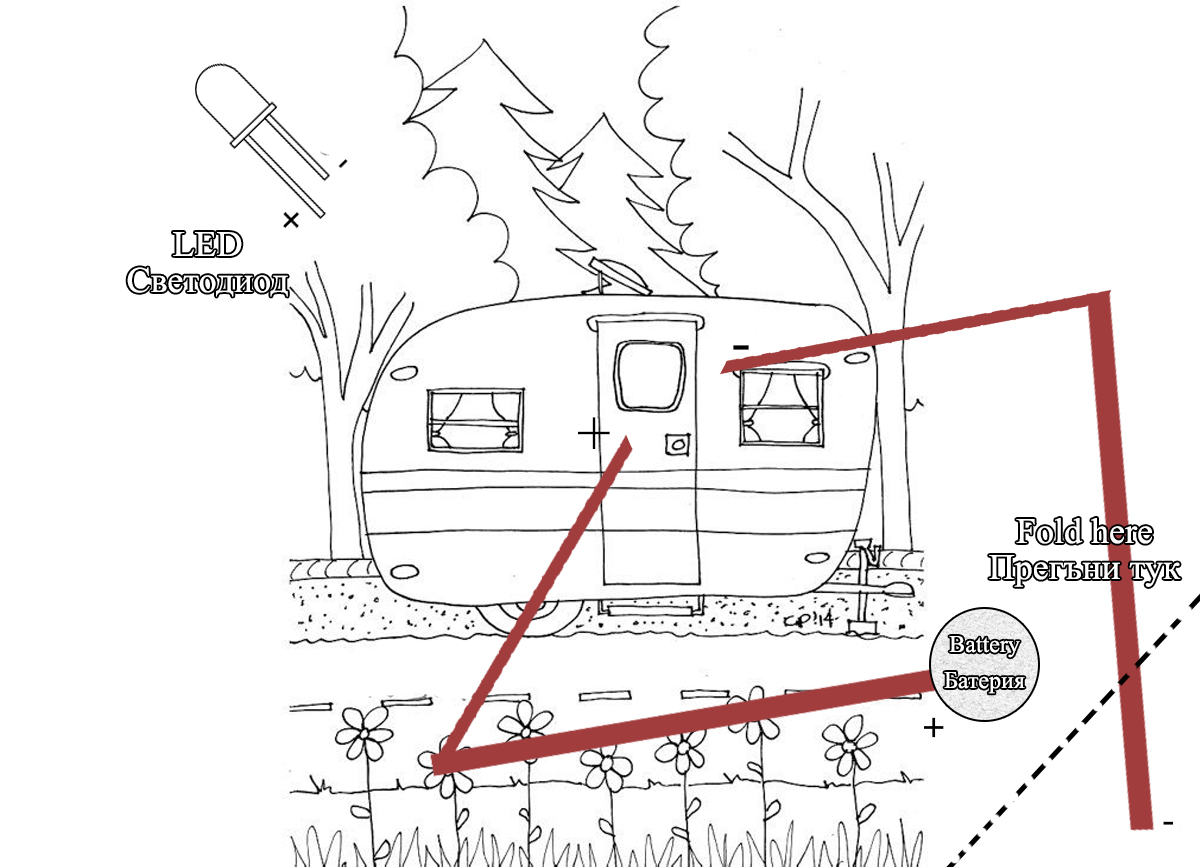
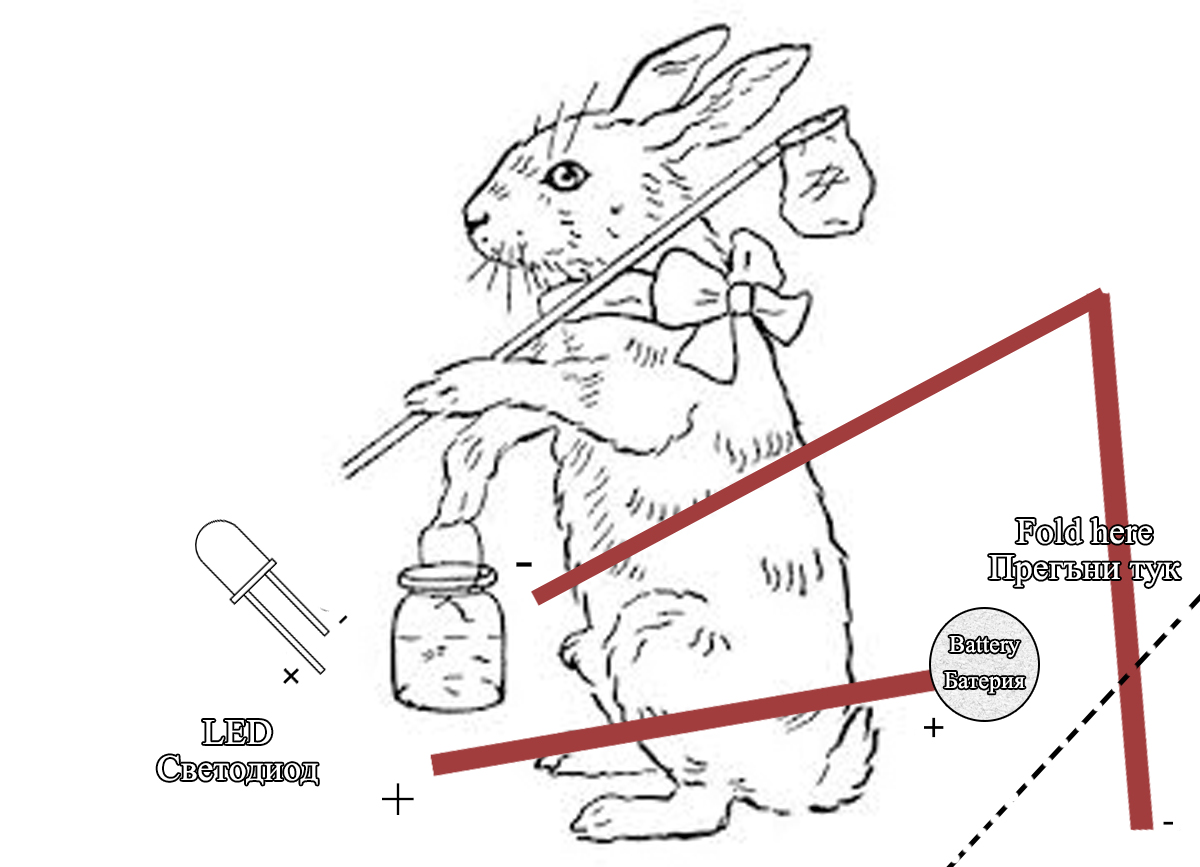
Now take the copper conductive tape and trace two separate paths on the card, just like in my free template here: (they should be near each other, but not crossing)

It is very important to trace the path right. Sometimes you will have to turn the path of the conductive tape either left or right, be careful! Do not break the tape’s wholeness otherwise the electricity won’t be able to travel through the path and deliver its charge to the LED. Instead, bend it carefully and don’t twist it too much as it will break.
Take the LED, separate its legs a bit and tape them down (legs touch the conductive tape directly). One leg should touch one strip/path of the tape, the other leg – the other path.
Once you have taped the LED to the card, take the battery and place it on top of one of the paths. Fold the paper and make the other end of the conductive tape touch the upper side of the battery. If the card doesn’t light up, turn the battery upside down and try again. Depending on the LED position you have chosen, one of these options will work.


This project is as easy and fun as it is! If you are still confused (my description was not the best for sure ) then you can go and watch this video which includes instructions and a step-by-step guide.
A video about a very small part of successful paper circuits. These were made by my 6th graders in 2019:
Creative STEM project – Paper electric circuit at school
On the Internet, as you can imagine, there are countless options for paper circuit card templates, just Google the term “paper circuit template” or download mine on the links above.
Materials you may find useful:
- A presentation to use for 2-3 minutes before the actual card-making starts, right at the beginning of the lesson. The presentation gives basic knowledge on electricity, paper circuits and cool examples for both. Download it for FREE by clicking here.
- Premade templates that I have created for my students. Download them for FREE here: