Teaching the students how to practice keyboarding and how to write faster on a keyboard is essential and absolutely mandatory. Their typing speed can define their whole “learning career”, both at school and later – university, where you have to constantly use the keyboard to write homework, essays, projects, presentations, e-mails and other important things. Even after this, when the students start getting jobs and going to work, about 95% of the jobs of the 21st century require you to use a keyboard, so keyboarding is one of the most important things you can teach your students, and the saying “practice makes perfect” applies perfectly in this case. The more they practice typing, the better they become. It is very easy and requires almost no brainpower. Once their brain starts to memories the positions of the different keys on the keyboard, it starts becoming and effortless task to write on a keyboard.
Let me give you some tips and advice that you can use in your own computer lab technology lessons, in order to be as helpful to your students’ keyboarding skills as possible.
Use keyboard typing speed websites, such as 10fastfingets
Using such websites is the purest form of keyboarding skills practice available. The students get a bunch of words that they have to type down. They have 60 seconds. They have to write as many words as possible. At the end of this time, they get a score, how many words per minute (WPM) they can write. The more times they start all over again and again, the more practice they get with different words. They can even select different languages and topics with such website. And you can also use such websites for assessment, in order to check a student’s typing speed. I will share with you a table below, full of the average speeds that I have gathered and summarized from my students by age group (since grades and student ages in BG and in the US are different).
WPM – words per minute
CPM – characters per minute
| Age range | Beginner | Intermediate | Expert |
| 6 to 11 years old | 15 wpm (75 cpm) 80% accuracy | 25 wpm (125 cpm) 85% accuracy | 35 wpm (175 cpm) 90% accuracy |
| 12 to 16 years old | 30 wpm (150 cpm) 85% accuracy | 40 wpm (200 cpm) 90% accuracy | 50 wpm (250 cpm) 95% accuracy |
| 17 years old and over | 45 wpm (225 cpm) 90% accuracy | 55 wpm (275 cpm) 95% accuracy | 65 wpm (325 cpm) 100% accuracy |
For reference, I do an average score of 70 WPM with around 97-98% accuracy.
Do dictations
The good old dictations that we had to do when we were kids, but this time with a keyboard, and not on paper with a pen. Just pick a good text that is appropriate and interesting to the age group of your students and start the dictation. The students have to follow along and write down everything you say on the keyboard, on a new file (use Microsoft’s Word or Google Docs or something similar). As a bonus, after they are done writing the whole text, you can make them format it somehow, maybe using some predefined rules (by you) like font size has to be 12, the headings are red with a size of 16 etc. This is also a perfect assessment activity and not only a practice tool.

If you don’t feel like looking for a text, or if you don’t have time to think of formatting rules, you can use my ready-made exercises. A good option is the “Text formatting 4 exercises in Microsoft Word with instructions” (click the title to go there) resource where you get 4 exercises in one product, with texts perfect for dictations and keyboarding practice and with formatting rules for afterwards.
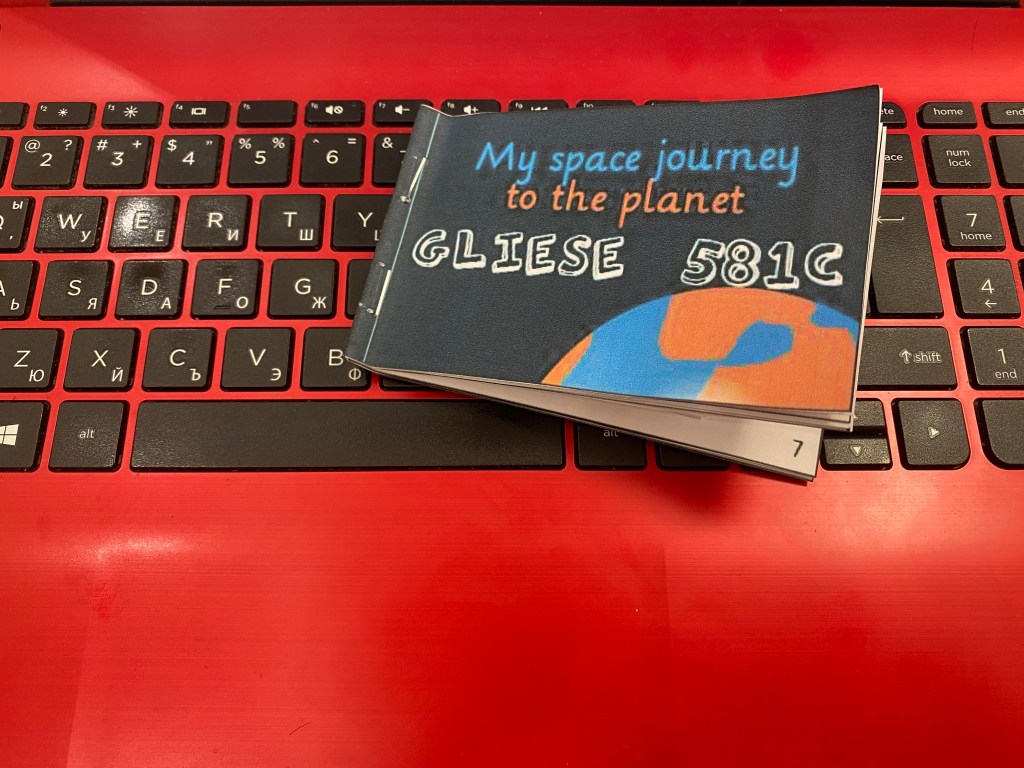
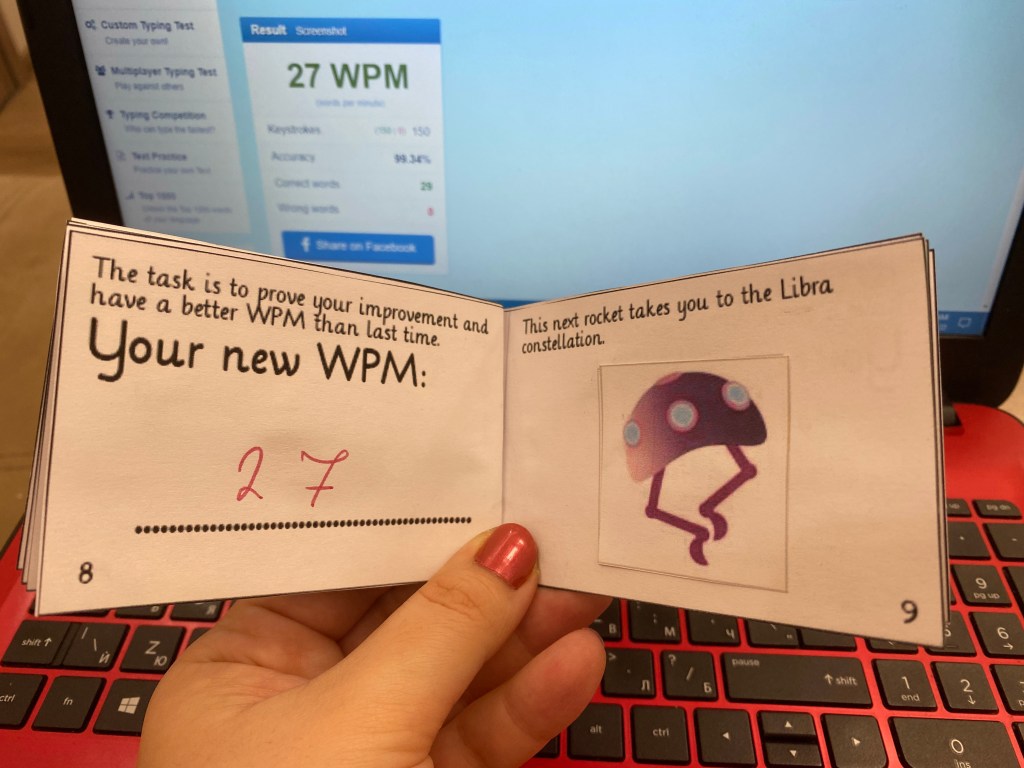
A keyboarding booklet that improves the typing skills and tracks the student’s progress in 4 weeks’ time

As I said, I think keyboarding is one of the most important things a student walks out of the computer lab with, so I spent a lot of time to develop a special booklet that helped me a lot, I hope it will help you too. With the booklet, the students start from a certain WPM and then they have different tasks for each of the next 4 weeks that they have to achieve. They use the booklet to log and track their progress. Meanwhile, with each task they gather space rocket stickers and they go through a space-themed background story – they have to reach the planet Gliese 581c. There is coloring, there is the sticker gathering and my students really have fun with this resource. It doesn’t require much of the teacher, only a little bit of printing and cutting. If you are interested in this resource, you can click this link and go see it.