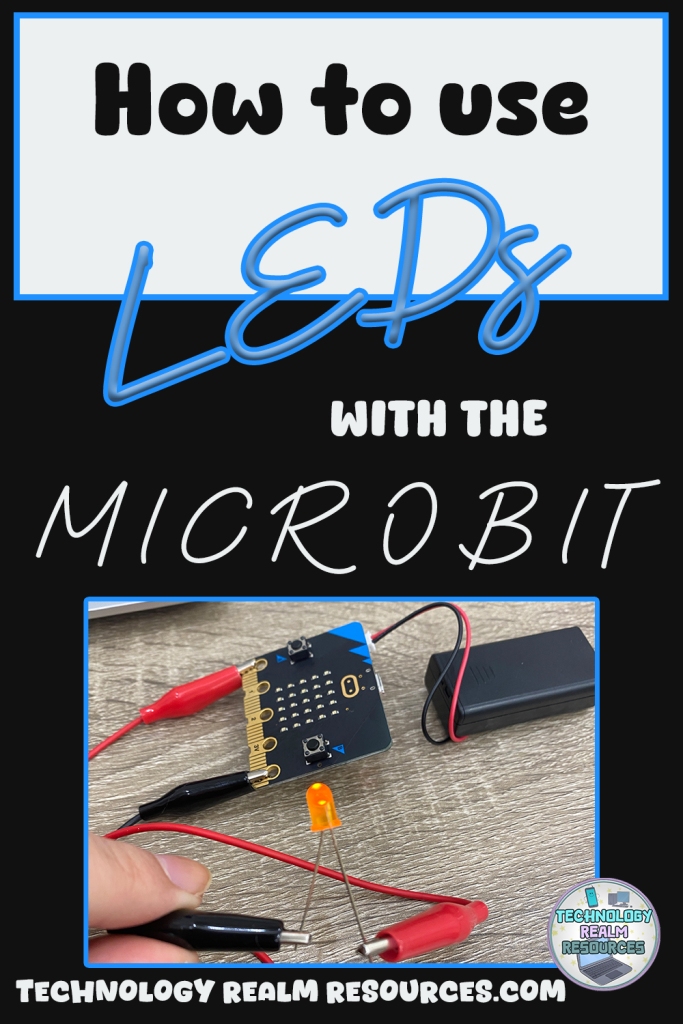
If you need an idea for a fast and interesting project that has very basic, beginner-level coding, using the BBC micro:bit tiny circuit board, then let me show you one that my students love!
Let’s connect external LEDs with the microbit using crocodile clip cables.
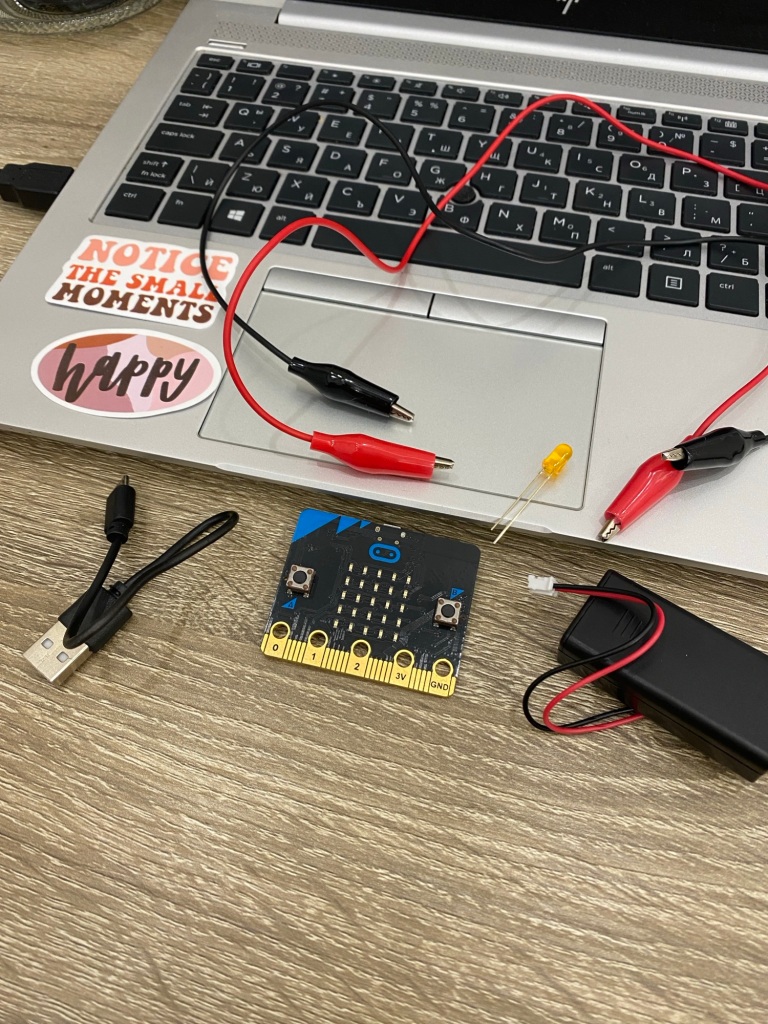
⭐You will need:
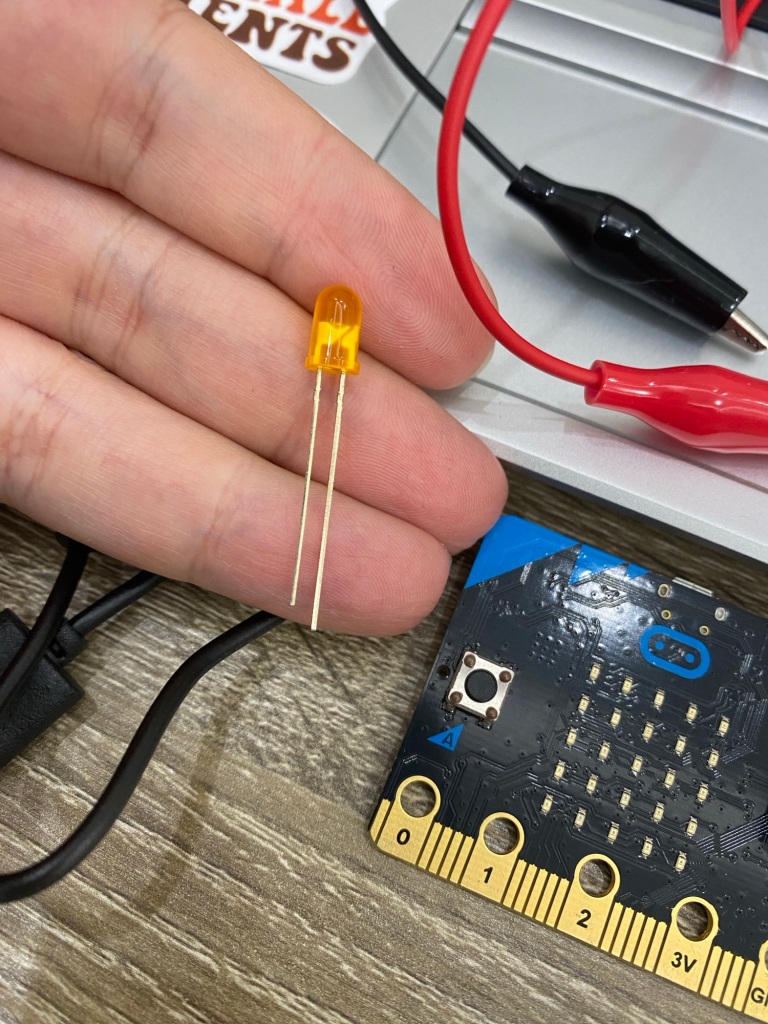
- LED x1
- crocodile clip cables x2
- microbit + USB cable (optional + battery cage with batteries)
- computer where you will be programming the microbit
⭐How to program the microbit?
Start by connecting the microbit to the computer using the USB cable. If this is the first time you’re connecting it, it will take 1-2 minutes for the circuit board to automatically install its drivers to your computer. Afterwards, the microbit appears as an external hard drive or as a USB flash drive inside of your file manager program. Open that by double clicking it.
Now, go to https://makecode.microbit.org/ and create a new project, name it “LED project”. Click on the “Advanced” menu and then click on “Pins”. Use the “digital write pin” block, just like the picture below:

Use the block and set pin P0 to 1. Download the program to your computer and upload it as a file to the microbit using the file explorer/manager. Or, if you use the “connect” option and you connect the microbit using the makecode coding environment, you can send the file automatically. That’s it! Now, let’s connect the physical components.
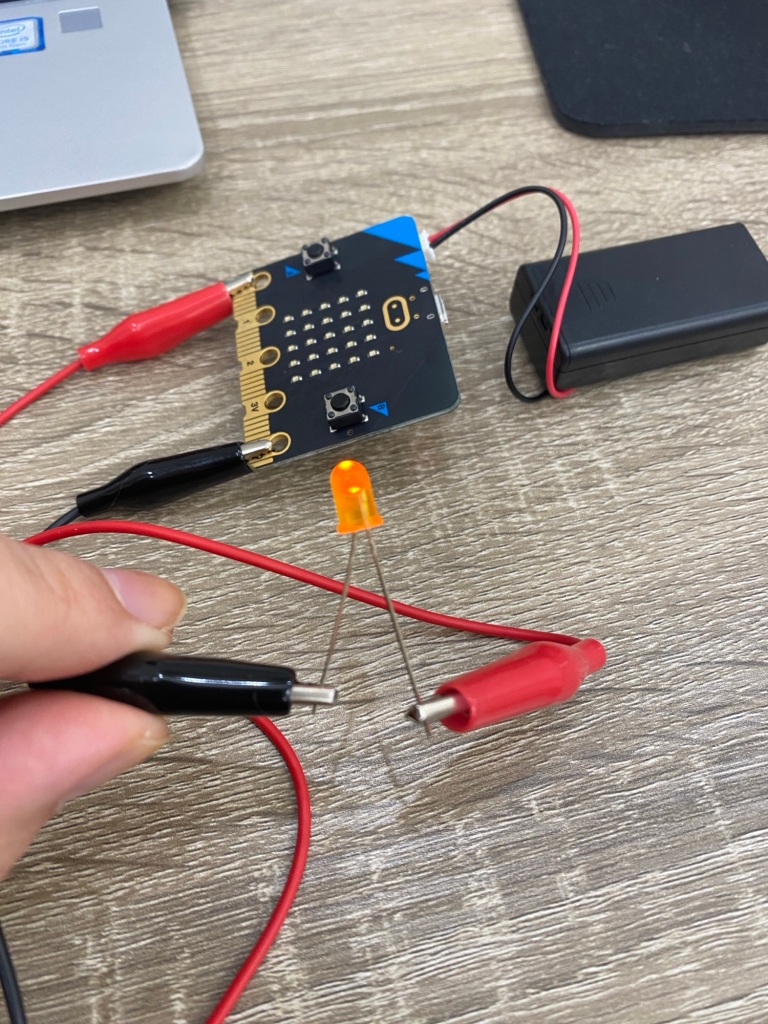
⭐How to connect the LED to the microbit?
Take the two crocodile clip cables, the LED and the microbit. Using one of the cables, clip it to pin 0 on the microbit. Using the other end of the same cable, clip it to the short leg of the LED (that is the + (plus) leg). Take the other cable and clip one end to the GND pin of the microbit, and the other to the long leg of the LED (that is where its – (minus) is). Now, connect the microbit to the computer using the USB cable OR plug the external batteries using the battery cage and Voilà! The LED should light up 😊

⭐ How to complicate/develop the project further?
In the current state of the project, when you connect the microbit to electricity, the LED lights up and stays up indefinitely. Let’s make it blink!
Go back to the code. Right now, your program looks like this:

Go to the “Basic” menu and look for the “pause” block. Insert it below the “digital write pin block”. Set it to 1000 (which is milliseconds, meaning 1 second). Add another “digital write pin” block, but this time set it to 0. Add another pause for 1 second.
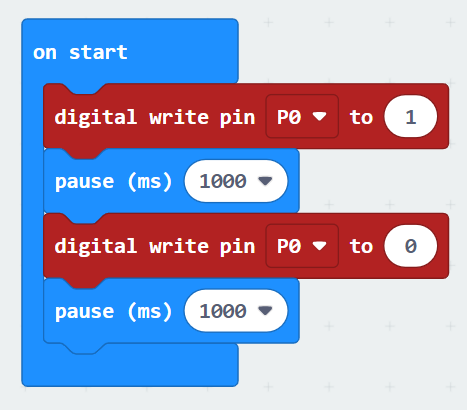
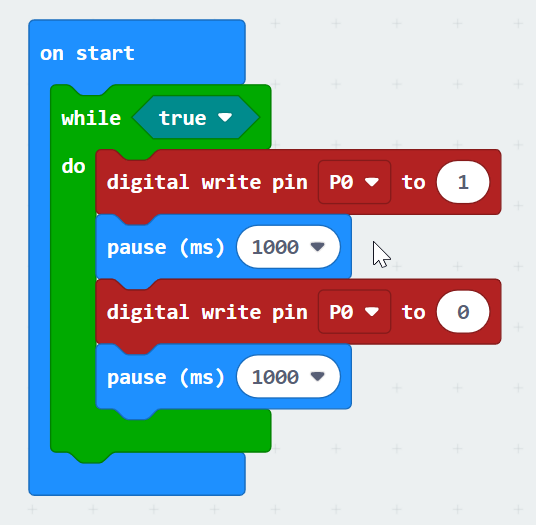
Write now, if you connect the microbit and LED to electricity you will see the blink, but it will happen only once. To make it blink indefinitely (forever), go to the “Loops” menu and take a “while – do” block. Add it and move all of your previous code (4 blocks) inside of it. One last thing, change the “false” condition of the loop to “true”. And you are done. The block means “repeat this code while the condition is true”. But it will always be true, because we never set an actual condition 😊 The complete code looks like this:
⭐ Further development of the project
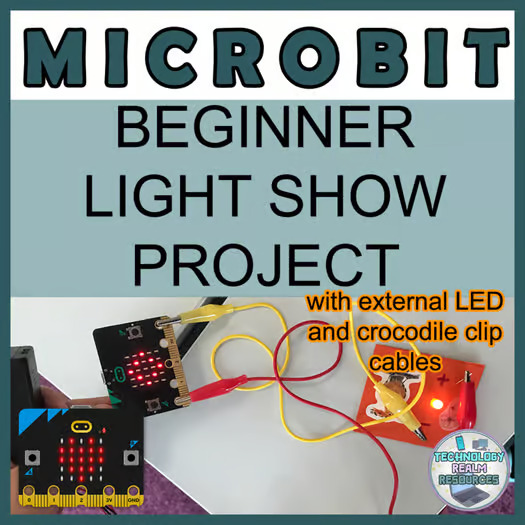
If you are a teacher and you want to do this project with your students, but in an even more creative, colorful and fun way (with almost zero effort on your side), you can check out this resource I created, where the students will be making small cards that light up, using 1x LED and the microbit, called “Microbit light show project with external LED crocodile clips and colorful cards“.
Also, I made a brief video of the project in action in my classroom, you can watch it on YouTube by clicking this link: Micro:bit light show with external LEDs and colourful cards project.
I hope this post was helpful to you! I tried to be as detailed as possible 😊 I’m sure your students will love the project, just like mine do each school year!
Happy teaching!
Grace