Don’t you just love those fun coding robots that can follow a line you draw on the ground? I know I do! Because this capability opens a whole world of entertainment and seasonal tasks for the early finishers. I have several coding mats (actually, printed squares taped together, or a long line with a black marker on a huge piece of cardboard, with a pretty background around) stored in my computer lab, so when a student is too fast and finishes early with their official coding task, I can just take out that (for example) Halloween-related colorful mat that has apple trees and a pumpkin patch around a thick black line. They have to make the robot go through the whole cardboard following that line. Sometimes I give the students some obstacles to place around, or I give them crayons so they can make the background even prettier. They always love those activities!
At the end of this post I will give you a list of robots that have the Follow-the-line capability.
Now, let’s be more technical. Line-following robots, like my favorite Botley and other consumer robots for kids (the Ozobot for example), work by using sensors to detect and follow a line on the ground, typically a black line on a white surface or vice versa. I’ll go through the whole process for you to understand completely.
1. Sensors
These robots are usually equipped with sensors on their underside, like infrared (IR) sensors. The IR sensors detect the contrast between the line (dark color, the black marker) and the surrounding surface (light color). The sensors emit an infrared light and detect how much of it is reflected back. Dark lines absorb more IR light (like dark clothes absorb more sunlight, it’s why you shouldn’t really wear black in the summer when you’re out), while lighter surfaces reflect it. This sensor is like the eye of the robot.
2. Processing
The robot’s onboard processor interprets the signals from the sensors and analyzes them. If the sensors detect a high reflection (light surface), the robot knows it is off the line. If there is low reflection (dark line), it means the robot is on the line.
3. Movement Control
Based on the sensor input, the processor decides how to move the robot’s wheels. If one sensor detects the line and the other does not, the robot turns in the direction that brings both sensors back onto the line. If both sensors detect the line, the robot moves forward. If neither sensor detects the line, it knows to search for it again by moving in a specific pattern, or in circles (like Botley does).
4. Adjustments and Feedback Loop
The robot constantly checks the sensor feedback and adjusts its direction to stay on the line. This is a continuous feedback loop where the robot quickly processes the data from its sensors and makes small movements to correct its path. The more frequently the robot reads the sensors and adjusts, the smoother and more accurate the line-following behavior. You can consider this a “forever loop”, like the microbit has for example (although, it’s not really a robot but a circuit board with sensors).
5. Basic Programming
Most line-following robots, like Botley, are pre-programmed with simple algorithms that handle these sensor inputs and motor outputs. Some models allow kids to program simple sequences or use visual coding blocks to create paths and behaviors, making the learning experience both interactive and educational. Such a (more complex) robot is the Ozobot for example.
6. Simple Consumer Design
These coding toys are designed to be easy to use, with plug-and-play functionality because they are mostly used by kids. They often come with a set of pre-drawn lines or paths that kids can place on the floor, and the robot is immediately ready to follow the path using its built-in sensors and motors. The Botley robot comes with a set of 6 thick 20 cm x 20 cm cardboard squares shaped like puzzle pieces. You can place them together on the floor so that they form a black line path – ready to go once you open the box and place the batteries. It’s very convenient!
Here’s a link to a free Follow-the-Line resource for the Botley robot, created by the manufacturer Learning Resources:

I use it all the time at home with my own kiddos (they are a bit young, but they do know how to use a Botley and that free maze!), as well as at school with my early finishers.
List of my favorite robots that have the Follow-the-line capability, starting from the cheapest and going up:
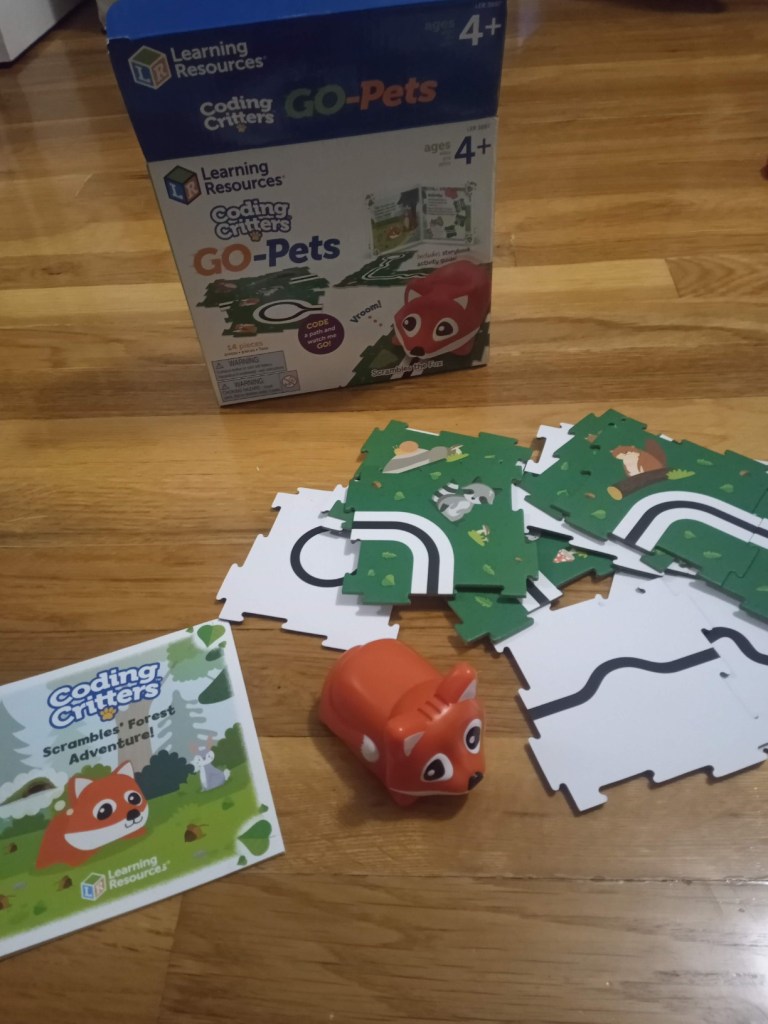
Learning Resources Coding Critters Go Pets
Those sell for anywhere between 15$ and 20$ a set (20-25 € if you’re in Europe). One set includes the little robot, some puzzle pieces from thick cardboard that can be arranged to a black line path, and a little book with different fun tasks. You can choose from 3 different kinds of animals that Learning Resources are selling (of the Coding Critters series) – Scrambles the fox (my own kids’ favorite), Dipper the narwhal and Dart the chameleon. All 3 are pretty simple and suitable for kids as young as PreK (or even younger). You can’t do any actual coding with them, not even the most simple directional one. All they do is follow lines and use an IR sensor.
Link to the fox robot at the US Amazon
Link to the fox robot at the German Amazon
Here’s some pictures of the fox set:


These are the other two robots, the narwhal and the chameleon:


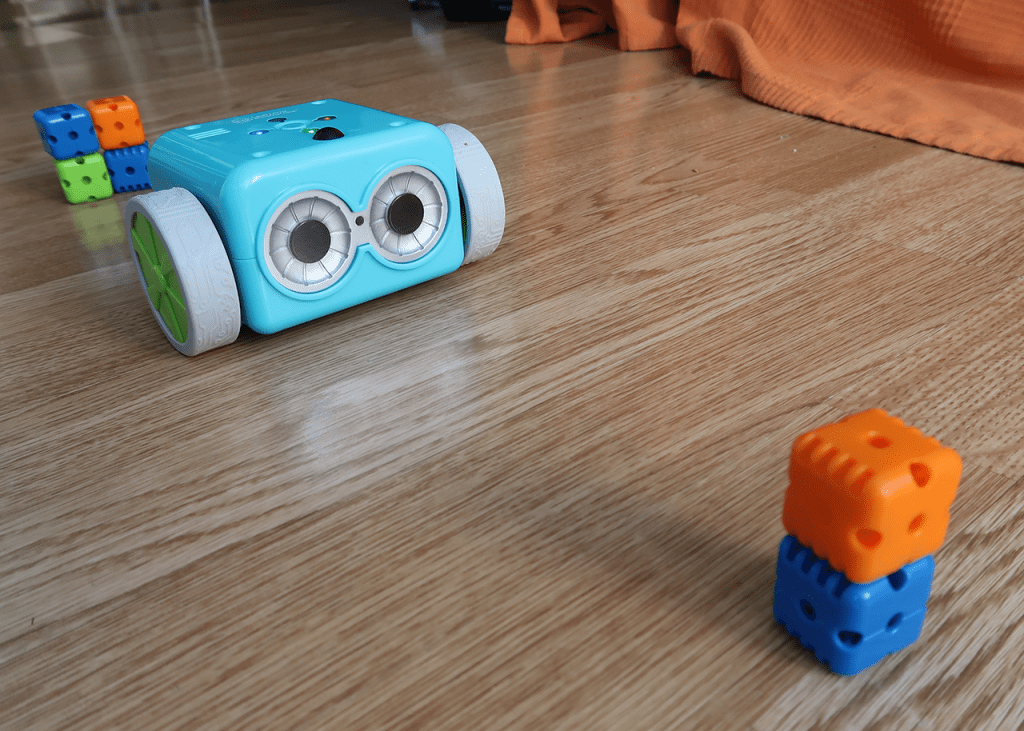
Botley
Ah, one of my favorite robots. Not very cheap, not very expensive. It costs around 40-50$ (65-75 €). Not only does it have the magical line following capability, but you can also do directional coding with it. It even has loops! Yay! Also, it comes with a remote control and a couple of accessories like glasses and coding cards. There’s a lot of additional accessory packs available to buy, separate from the main robot package. This smart coding toy is something I use very often. I use Botley robots at school for my Technology lessons with 1-3 grade students. I also bought one for my own kids at home and they are loving it every time I take it out to play with.
There’s also a new version of the robot – Botley 2.0, but I don’t have one and I’ve never used it before, so I can’t tell if it’s better or not. It’s like 10 bucks more expensive.
Link to the Botley robot starter package at the US Amazon
Link to the Botley robot starter package at the German Amazon


Ozobot
I’m just going to mention the Ozobot robot, because it’s a popular line-following gadget, but I’ve never used one and I can’t express an opinion. It’s pretty expensive. The starter pack is around 200 € at the German Amazon, which is around 220$. I couldn’t find it at the US Amazon though, no idea why. It is programmable, but not in the conventional way (with arrows and buttons). It can read different colors and you can program it using that feature. For exampe: follow the black line, when you come across the combination red-blue-green-> turn left, but if the combination is red-blue-blue-> spin around and continue forward. It look cool but the price it the thing that’s always stopped me from buying it.


There’s also lots of other line-following robots out there, I can’t include all of them. The ones I mentioned are pretty much the most popular ones in the category, and the ones I can express some opinion on.
In Summary:
Line-following robots use sensors to detect a path, a processor to interpret sensor data, and motors to adjust movement, allowing them to follow a line autonomously. They are a great way for kids to learn about basic robotics, programming, and sensors in a fun and interactive way.
I hope my article, links and experience were helpful!
Happy teaching!
